Configure Your Mail Account in Outlook Express
1. Open the Accounts Window
- Open Outlook Express.
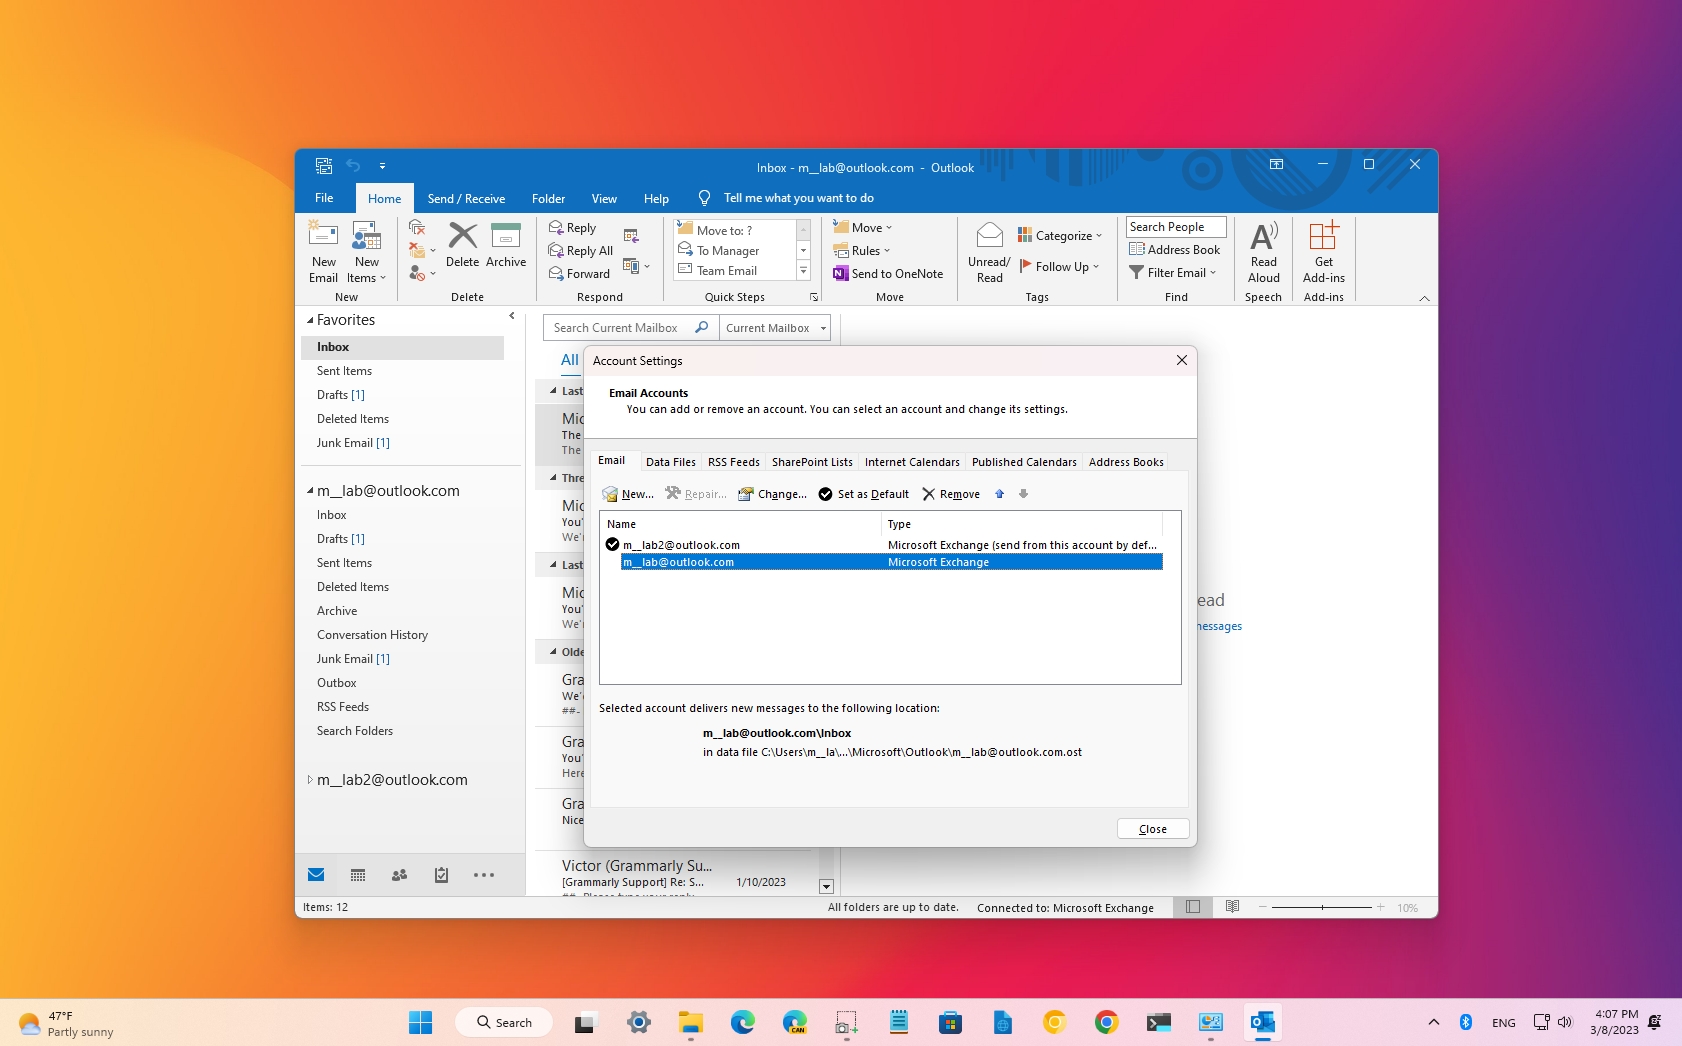
- Click Tools in the top menu bar, then select Accounts....
- In the Internet Accounts window, click the Add button and select Mail....
2. Complete the Mail Setup Wizard
Follow the on-screen prompts and enter the following settings:
- Display Name: Enter your name (as you want recipients to see it)
- Email Address: Enter your full email address (e.g.,
myaccount@your-domain.com) - Incoming Mail Server:
mail.your-domain.com - Outgoing Server (SMTP):
mail.your-domain.com - Account Name: Enter your full email address as the username
- Password: Enter your email password
⚠️ Important: Do not check the box for Secure Password Authentication (SPA).
3. Configure Outgoing Server Authentication
Once the wizard is complete, select the account you just created, click Properties, and follow these steps:
- Navigate to the Servers tab.
- Under the Outgoing Mail Server section, check the box for My outgoing server (SMTP) requires authentication.
- Click Settings... right next to it, and ensure Use same settings as my incoming mail server is selected.
- Click OK.
4. Configure Advanced Settings
Switch to the Advanced tab at the top of the properties window and configure the ports and security settings.
Incoming Server Ports
Pick the setting below that matches your connection type:
-
If using IMAP:
- Port: 993
- Turn ON: This server requires a secure connection (SSL)
-
If using POP3:
- Port: 995
- Turn ON: This server requires a secure connection (SSL)
Outgoing Server Ports (SMTP)
Configure your outgoing settings as follows:
- Port: 465 (or 587)
- Turn ON: This server requires a secure connection (SSL/TLS)
5. Finish Setup
- Click Apply and then OK to close the Properties window.
- Click Close on the Internet Accounts window.
Your email account is now successfully configured and ready to send and receive messages!